TL;DR:
- A pre-approval checklist in New Zealand includes essential documents like photo ID, proof of income, bank statements, deposit evidence, and a liabilities list, which are crucial for a smooth application process. Lenders assess beyond paperwork by scrutinizing spending patterns, credit history, and debt-to-income ratios, especially after recent credit law changes. Proper preparation, understanding deposit options, and prompt responses significantly improve chances of timely mortgage approval.
A pre-approval checklist is the structured list of documents and financial criteria you must satisfy before a New Zealand lender will issue a conditional mortgage offer. Getting this right from the start is the single biggest factor in how quickly your home loan moves forward. Without a complete checklist, applications stall, lenders ask for more information, and your window to make an offer on a property can close. Tools like RatePal and guidance from Kāinga Ora schemes make the process clearer, but the preparation still falls to you. This guide walks you through every step, so you can walk into the process with confidence.
1. What goes on your pre-approval checklist: essential documents
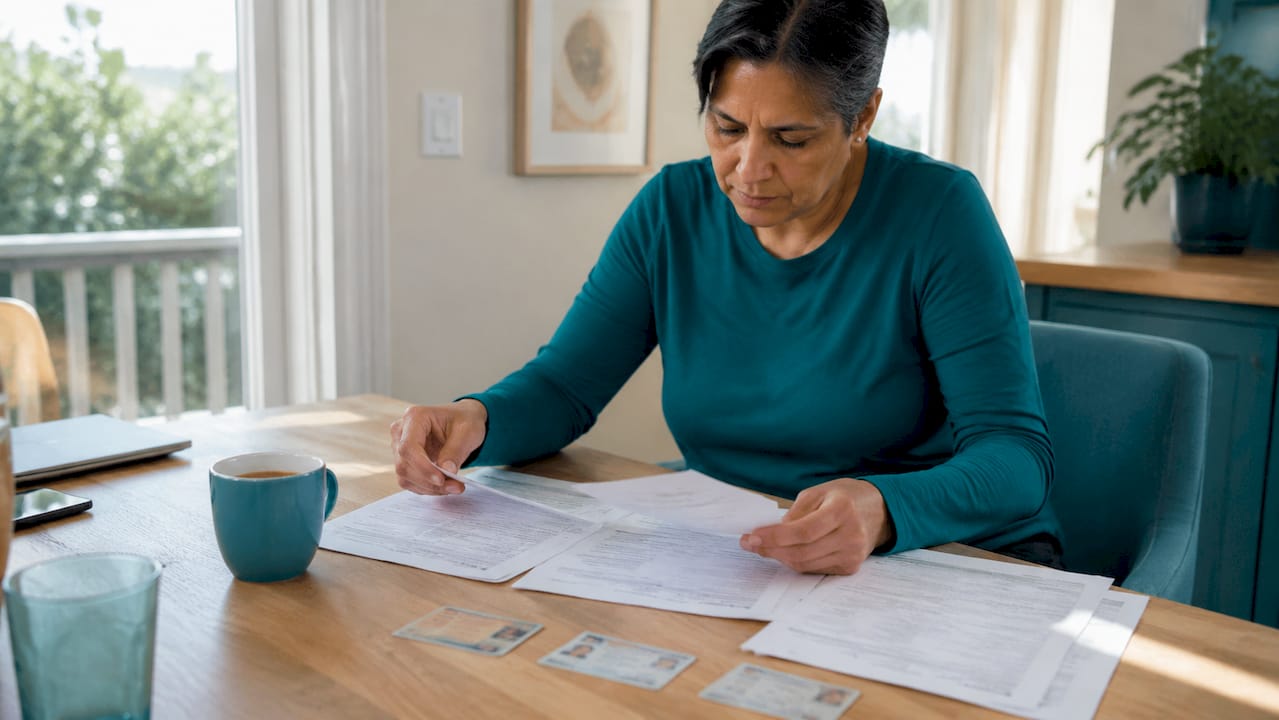
The core documents required for mortgage pre-approval in New Zealand are photo ID, proof of income, bank statements, deposit evidence, and a full liabilities list. Each one serves a specific purpose, and a lender will not proceed without all of them.
Here is what to gather before you submit:
- Photo ID: Your New Zealand driver licence or passport. Both pages of your passport if applicable.
- Proof of income: Your three most recent payslips if you are employed. If you are self-employed, you need two years of financial statements and tax returns.
- Bank statements: Three to six months of transaction history in PDF format, downloaded directly from your bank.
- Deposit evidence: KiwiSaver balance statements, savings account records, or a signed gift letter if family is contributing funds.
- Liabilities list: All credit cards (including limits, not just balances), buy now pay later accounts such as Afterpay or Laybuy, personal loans, and any other debts.
Missing even one of these items causes delays. Incomplete applications frequently set processing back by 7–14 days. That is a significant wait when you are trying to move quickly on a property.
Pro Tip: Always download your bank statements as full PDF files directly from your internet banking portal. Include every page, even blank ones. Lenders reject statements that are missing pages, regardless of whether those pages contain transactions.
2. How lenders assess your finances beyond the paperwork
Lenders do not simply check that your income covers your repayments. They scrutinise your bank statements for spending patterns, unarranged overdrafts, and discretionary expenses as indicators of financial risk. This shift in approach came with changes to the Credit Contracts and Consumer Finance Act (CCCFA), which pushed lenders toward deeper behavioural analysis.
What lenders look at closely:
- Income consistency: Regular salary deposits signal stability. Irregular or declining income raises questions.
- Credit history: Any missed payments, defaults, or judgements on your credit file will affect your application.
- Debt-to-income ratio: The total of your debts compared to your gross income. A high ratio reduces what you can borrow.
- Discretionary spending: Subscriptions, dining out, gambling transactions, and unarranged overdrafts all appear in your statements.
- Credit card limits: Lenders treat your full credit limit as potential debt, not just your current balance.
Lenders stress test your loan at interest rates higher than the current market rate to confirm you can still afford repayments if rates rise. This means your borrowing capacity is judged on a future worst-case scenario, not today’s numbers.
Pro Tip: In the three to six months before you apply, reduce your credit card limits and pay down personal loans. Reducing debts before applying improves both your approval chances and the loan amount a lender will offer.
3. Deposit requirements and how Kāinga Ora schemes affect your application
The standard deposit for a New Zealand home loan is 20% of the purchase price. Falling below that threshold changes your options and adds conditions to your pre-approval. The good news is that first home buyers can access deposits as low as 5–10% through Kāinga Ora schemes, subject to income and property price caps.
Here is a comparison of your main deposit options:
| Deposit level | Scheme or pathway | Key conditions |
|---|---|---|
| 20% or more | Standard home loan | No LVR restrictions, no valuation required upfront |
| 10% | First Home Loan (Kāinga Ora) | Income caps apply, property price caps by region |
| 5% | First Home Loan (select lenders) | Strict eligibility, KiwiSaver withdrawal often required |
| Below 20% (any) | Low equity lending | Registered valuation required, low equity margin may apply |
The loan-to-value ratio (LVR) is the percentage of the property’s value you are borrowing. An LVR above 80% means you have less than a 20% deposit. Lenders treat high-LVR loans as higher risk, which is why a registered valuation is required when your deposit falls below that threshold. The valuation confirms the property is worth what you are paying, protecting both you and the lender.
If you are using KiwiSaver as part of your deposit, confirm your withdrawal eligibility and request a balance statement from your provider. Some lenders also accept gifted deposits from family, but require a signed statutory declaration confirming the funds are a gift and not a loan.
For more detail on low deposit home loan options, including eligibility criteria for 2026, the Mortgagemanagers resource covers the specifics clearly.
4. Step-by-step loan pre-approval checklist: from application to conditional approval
The mortgage pre-approval process in New Zealand follows a clear sequence. Knowing each step helps you move faster and avoid the back-and-forth that slows most first home buyers down.
- Choose your lender or mortgage adviser. A mortgage adviser compares multiple lenders on your behalf. Going direct to one bank limits your options.
- Gather all documents from your mortgage checklist. Use the list in Section 1 as your starting point. Do not submit until everything is complete.
- Submit your application. Your adviser or lender will lodge the application with your full document pack.
- Credit check. The lender runs a credit check on all applicants. This is standard and unavoidable.
- Lender assessment. The lender reviews your income, expenses, debts, and deposit. This is where the stress test applies.
- Respond to information requests promptly. Lenders often ask follow-up questions. Delays in responding extend your timeline significantly.
- Receive your conditional approval letter. This outlines the loan amount, conditions, and any requirements such as a valuation.
- Understand your conditions. Common conditions include a satisfactory registered valuation and confirmation of your deposit source.
- Note your validity period. Pre-approval is typically valid for 60–90 days. After that, you need to reapply.
- Renew before expiry if needed. If your property search takes longer than expected, contact your lender or adviser to renew before the approval lapses.
For employed applicants, the standard turnaround is 3–8 working days. Self-employed applicants should allow up to two weeks, given the additional documentation required.
Pro Tip: Time your application so your pre-approval does not expire during peak property seasons. If you are house hunting in spring, apply in late summer so you have a full validity window when competition is highest.
5. Common pitfalls first home buyers face with pre-approval
Most pre-approval delays are avoidable. The mistakes below are the ones Mortgagemanagers sees most often, and each one has a straightforward fix.
- Submitting incomplete bank statements. Missing pages, even blank ones, cause lenders to reject the document set and request resubmission. This alone can add a week to your timeline.
- Underestimating the impact of existing debts. A credit card with a $10,000 limit reduces your borrowing capacity even if the balance is zero. Lenders count the full limit as a potential liability.
- Treating pre-approval as unconditional. Pre-approval does not guarantee final loan approval. The property still needs to meet lender requirements, and a valuation must confirm its value.
- Not confirming deposit eligibility early. KiwiSaver withdrawals have processing times. Gifted deposits need documentation. Leaving this until the last minute creates pressure.
- Slow responses to lender queries. Every day you take to respond to a lender’s information request is a day added to your timeline. Treat lender queries as urgent.
- Misunderstanding low deposit conditions. Buying with less than 20% means a registered valuation is required and a low equity margin may apply to your interest rate.
- Going it alone without specialist advice. A mortgage adviser who understands lender criteria can match your profile to the right lender from the start, reducing the risk of rejection.
The mortgage application checklist on the Mortgagemanagers website covers each of these points in detail and is worth bookmarking before you start.
Key takeaways
A complete pre-approval checklist, submitted with full documentation and a clear understanding of lender criteria, is the fastest path to conditional mortgage approval in New Zealand.
| Point | Details |
|---|---|
| Complete documents from the start | Incomplete bank statements or missing ID cause delays of 7–14 days. |
| Reduce debts before applying | Lower credit card limits and personal loans improve both approval odds and loan size. |
| Know your deposit options | Kāinga Ora schemes allow 5–10% deposits, but income and price caps apply. |
| Pre-approval is conditional | Final approval depends on a satisfactory property valuation and meeting all stated conditions. |
| Validity window is 60–90 days | Time your application so pre-approval does not expire before you find a property. |
Stuart’s take on getting pre-approval right
I have worked with a lot of first home buyers over the years, and the pattern I see most often is this: people spend months saving their deposit and then rush the application. They pull together documents at the last minute, miss a bank statement page, and suddenly they are waiting another week while the property they want goes under offer.
The checklist is not just paperwork. It is your financial story told in documents. When you present it completely and clearly, you give the lender every reason to say yes quickly. When you present it with gaps, you give them a reason to pause.
The CCCFA changes have made lenders more thorough about spending behaviour, not just income. That means your bank statements now carry more weight than they used to. Three months of tidy, consistent spending tells a very different story than three months of overdrafts and irregular transfers. If your statements do not look great right now, that is not a reason to delay. It is a reason to spend three months cleaning them up before you apply.
The other thing I would say is this: use a mortgage adviser early, not as a last resort. An adviser who understands how lenders evaluate applications can tell you which lender is most likely to approve your specific profile before you even submit. That saves you credit enquiries, time, and a lot of stress.
Getting pre-approved is genuinely exciting. It means you are ready to buy. Treat the checklist as your preparation tool, not your obstacle.
— Stuart
How Mortgagemanagers can help you get pre-approved
Preparing for pre-approval feels straightforward until you are in the middle of it. That is where Mortgagemanagers comes in.

Mortgagemanagers acts as your personal shopper for home loans, comparing lenders across the market to find the one that fits your financial profile. The team based in Hobsonville works with first home buyers across Auckland, West Auckland, the North Shore, and remotely throughout New Zealand. They know which lenders are most flexible on deposit requirements, which ones scrutinise spending most closely, and how to present your application in the strongest possible light. If you are ready to take the next step, talking to a Mortgagemanagers adviser before you submit is the smartest move you can make.
FAQ
What documents do I need for mortgage pre-approval in New Zealand?
You need photo ID, recent payslips or self-employed financials, three to six months of bank statements in PDF format, deposit evidence including KiwiSaver statements, and a full list of liabilities including credit card limits and loans.
How long does pre-approval take in New Zealand?
Pre-approval for employed applicants typically takes 3–8 working days. Self-employed applicants should allow up to two weeks due to the additional financial documentation required.
How long is mortgage pre-approval valid for?
Pre-approval in New Zealand is generally valid for 60–90 days. If your property search extends beyond that period, you will need to renew your application with updated documents.
Can I get pre-approved with a 5% deposit?
Yes, through the Kāinga Ora First Home Loan scheme, eligible buyers can access deposits as low as 5–10%. Income caps and regional property price caps apply, and a registered valuation is required.
Does pre-approval guarantee my home loan will be approved?
Pre-approval is conditional, not unconditional. Final loan approval depends on a satisfactory registered valuation of the property you purchase and meeting all conditions stated in your approval letter.